Rotary Screen Making Techniques for Textile Printing
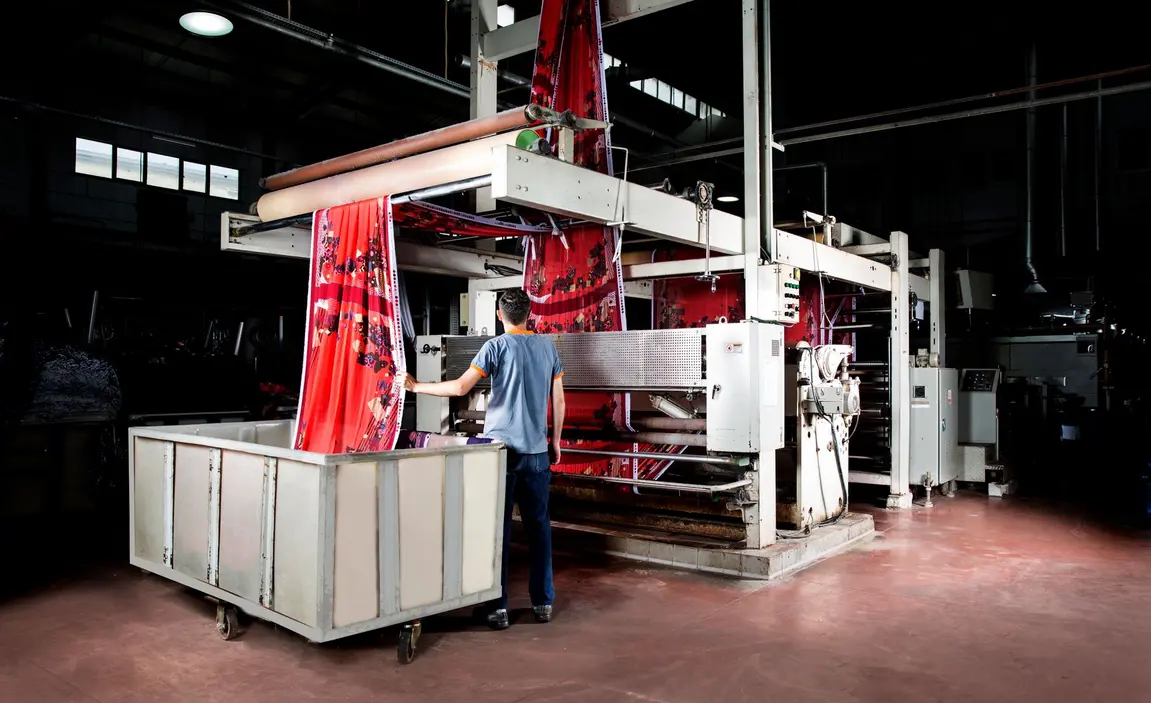
Table of Contents
Rotary Screen Printing: Principle and Production Role
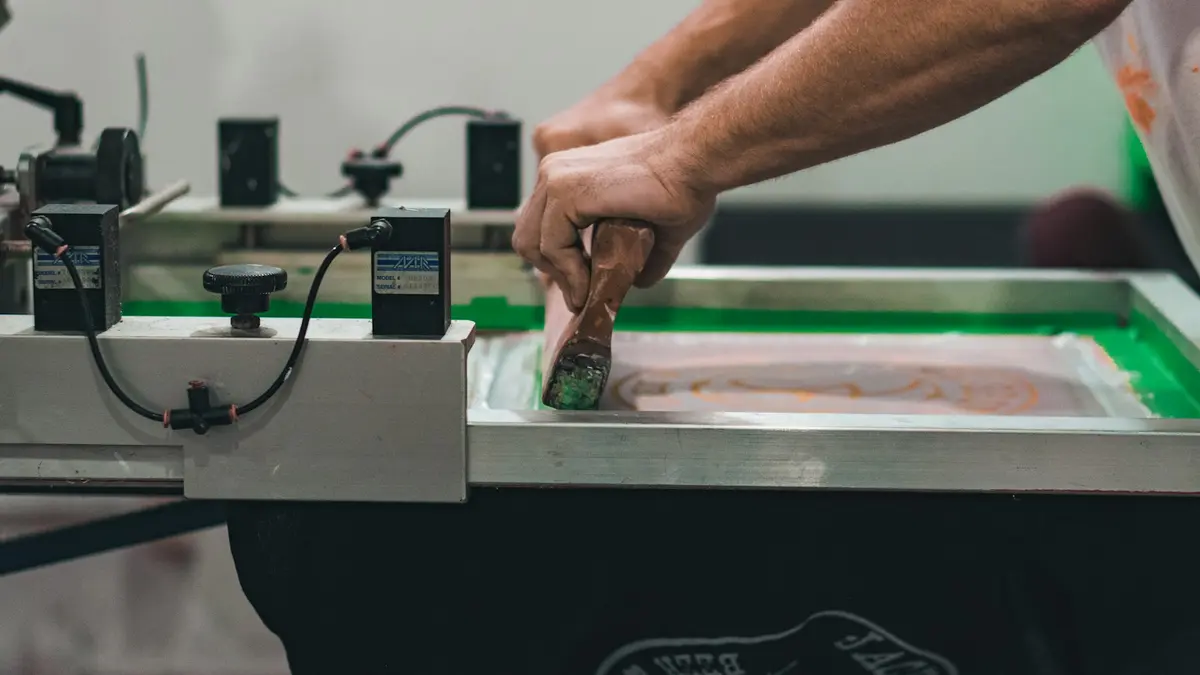
Rotary screen printing transfers print paste through open areas of a cylindrical screen while the screen rotates in synchronization with the fabric. A squeegee or internal paste-delivery system presses print paste outward through the screen image areas onto the moving fabric. The fabric is supported by a central blanket, pressure roller, or impression system, which provides the controlled contact required for paste transfer.
The process is valued for continuous production, repeatable registration and the ability to apply comparatively substantial amounts of print paste. This makes it suitable for many textile applications, including designs requiring strong color yield, broad solid areas and deep shades. Printing performance depends on the screen, mesh, paste rheology, squeegee pressure, fabric properties, machine speed and drying conditions.
Printing Screens and Color Separation Requirements
A rotary textile print normally requires one screen for each print color. For example, a six-color design generally needs six separately engraved screens, each carrying the image information for one color and mounted in the required print sequence.
As color count increases, the requirements for color separation, screen manufacture, registration, proofing and machine setup also increase. Complex designs may use many colors, but the practical number is determined by machine capability, design requirements, production economics and the risk of registration variation.
Types of Rotary Printing Screens
Rotary screens are thin cylindrical printing forms, commonly made from nickel or nickel-based structures. Lacquered rotary screens may be described as cylindrical equivalents of coated flat screens: a mesh structure is coated with a photosensitive or protective layer, and selected areas are opened to form the image.
Nickel mesh screens may have regularly shaped openings, including hexagonal structures in some constructions. Mesh geometry, open area and wall thickness influence paste flow, durability and image definition. Galvano screens are produced through an electroforming route. In a typical approach, a photopolymer mask defines protected and unprotected areas on a mandrel, followed by nickel deposition in the exposed areas to build the screen structure.
Rotary Screen Manufacturers and Screen Specifications
Rotary screen printing developed into a major industrial textile-printing method through the work of equipment and screen suppliers. Stork is historically associated with the introduction and commercialization of the rotary screen concept, while many regional and international suppliers now provide screens, engraving systems, end rings, printing machines and supporting consumables.
Screen selection should be based on the intended print application rather than brand alone. Important specifications include:
- Mesh count: affects detail capability, paste flow and deposited paste volume.
- Screen length: must suit the printing machine and fabric width.
- Repeat circumference: determines the design repeat that can be engraved around the screen.
- Engraved width: must cover the planned printable fabric width.
- Screen construction: should suit the chemical system, paste type and required service life.
Screens may be selected for pigment, reactive, acid, vat, discharge, coating or other print systems. The supplier’s technical data should be checked against the paste chemistry, expected production length and required design resolution.
Print Management Before Screen Engraving
Print management links design development with screen production. It coordinates artwork receipt, scanning or file preparation, repeat building, color separation, proofing, customer approval and transfer of final data to the engraving department.
A controlled prepress workflow reduces the chance of costly corrections after screens have been engraved. It also ensures that the designer, merchandiser, printer and engraver are working from the same approved version of the design.
Artwork Scanning and Repeat Preparation
Artwork may arrive as a painted original, drawing, paper sample or digital file. Physical artwork can be scanned, while digital files are assessed for resolution, color structure, repeat continuity and compatibility with the production workflow.
At least one complete design repeat is required for accurate preparation. The repeat must be constructed so that its edges join correctly in both machine and cross-machine directions. Any mismatch can become visible as a line, step or interruption in the finished printed fabric.
Color Separation
Color separation converts the design into individual color components, each corresponding to a screen and print paste. Separation may involve manual adjustment, digital editing and tonal control to preserve the visual character of the original artwork.
The objective is not simply to isolate colors. Fine lines, small dots, overprints, texture effects and tonal transitions must be retained in a form that can be engraved and printed reliably. Separation decisions should consider the selected mesh, paste behavior and likely color overlap on fabric.
Transferring Approved Data for Engraving
Before engraving, the separated design is usually checked through a proof or strike-off planning process. An approved proof gives the customer and production team an opportunity to correct color placement, repeat size, motifs or details before screen manufacture begins.
Once approval is confirmed, controlled production data is released to the engraving department. Clear version control is essential: the engraving team should receive the final approved file, screen specification, repeat information, width requirement and color sequence.
Engraving Release and Screen Delivery
Engraving begins only after the production file and technical specifications have been approved. Completed screens are inspected, identified by design and color reference, fitted or prepared for end rings as required, and transferred to the printing department or customer.
Careful labeling is important because screens may be stored, reused or reordered for repeat production. The screen record should remain linked to the approved artwork version and print recipe.
Engraving Department Controls and Responsibilities
The engraving department is responsible for converting approved design information into durable, printable screen images. Its controls affect registration, repeat accuracy, print sharpness, paste delivery and the consistency of later production runs.
Quality of Submitted Artwork and Digital Files
The submitted artwork or digital file must accurately represent the customer’s intended design. Poor resolution, incomplete repeats, unintended color changes, missing layers or ambiguous instructions can lead to incorrect engraving.
Files should be reviewed before screen work starts. A practical check includes design scale, color count, repeat direction, line thickness, expected print width and whether small details are feasible with the selected screen and paste system.
Design Repeat Size
The actual repeat size determines how the design is arranged around the circumference of the rotary screen. A repeat that does not fit the selected circumference requires adjustment, a different screen repeat, or a revised design layout.
Repeat selection affects both appearance and production. It must allow accurate joining of motifs while remaining compatible with the machine and available screen dimensions.
Screen Mesh Selection
Mesh is a key parameter in rotary screen quality. Higher mesh counts generally support finer detail, smaller dots and cleaner line work when the coating, paste viscosity and printing conditions are appropriate. However, finer mesh can restrict paste flow and may not be suitable for designs requiring heavy deposits.
Lower mesh screens generally permit more paste passage and can suit broad solid areas, metallic effects, coatings or heavier print pastes. Mesh selection should therefore balance image definition against required paste volume and production robustness.
Screen Length and Engraved Width
Screen length and engraved width must match the printing machine and fabric width. The usable engraved area should provide sufficient coverage while allowing for machine fittings, edge margins and operational tolerances.
Repeat dimensions also influence screen selection because the circumference must accommodate the design repeat. Dimensional checks before engraving prevent costly errors in mounting and production setup.
Screen Preparation Before Engraving
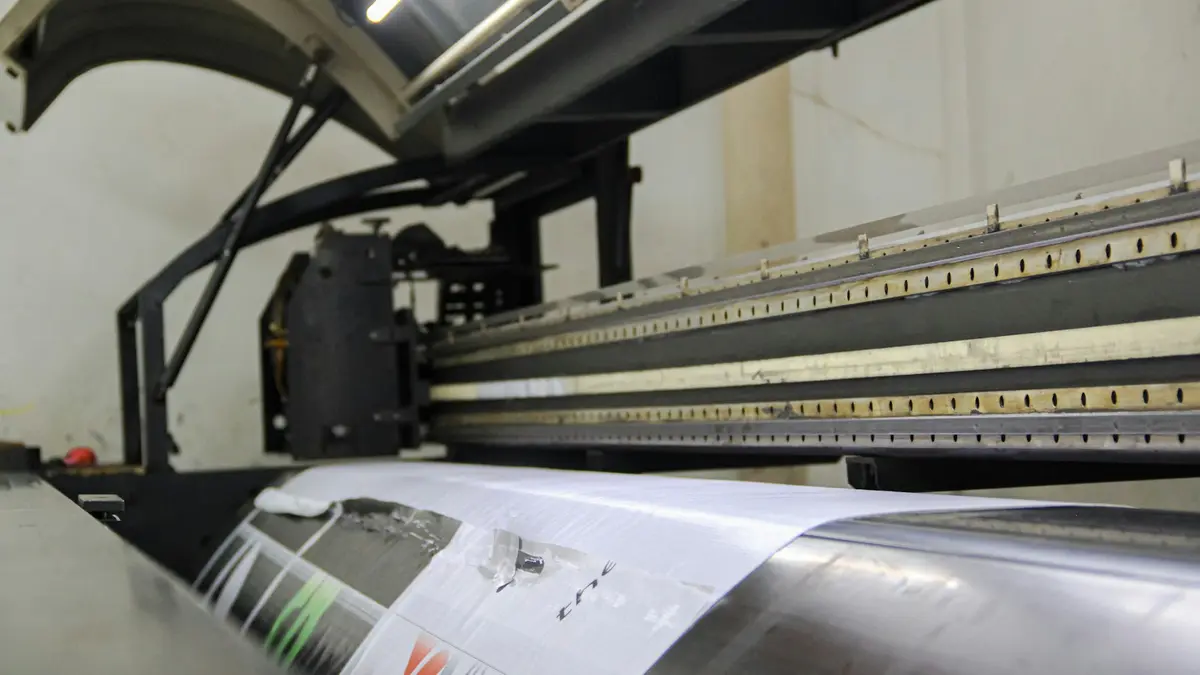
Screen preparation creates a clean, round and uniformly coated surface before image formation. A typical sequence includes unpacking, inspection, rounding, degreasing, washing, drying and coating. The exact chemicals, times and temperatures should follow the screen and emulsion supplier’s instructions.
Source: Unsplash
Unpacking and Initial Inspection
Rotary screens should be removed carefully from protective packaging because dents, creases and local deformation can affect printing quality. The screen should be inspected for damage, checked for correct dimensions and assessed for roundness before further processing.
Storage must prevent crushing, excessive stacking and contamination. Screens should be supported in a way that protects their cylindrical shape; improper storage can make later rounding and mounting more difficult.
Rounding and Heat Polymerization
Rounding rings are inserted at both ends of the screen to establish the required circular form. Heat treatment may then be used to stabilize or restore the screen geometry before engraving.
After heat treatment, the screen may be trimmed to the specified dimensions and protected with tape in handling areas. The purpose is to maintain accurate rotation and reduce the risk of marks caused by manual contact.
Degreasing the Screen Surface
Degreasing removes oil, handling contamination and residues that can prevent uniform coating adhesion. A clean surface helps the coating spread evenly across the mesh and reduces the risk of pinholes or weak image areas.
The source process refers to SCR 35 emulsion and recommends soft water for preparation. In production, chemical concentration, dwell time and compatibility with the selected screen system should be confirmed from current technical instructions.
Washing After Degreasing
After degreasing, the screen is shower-washed from both directions to remove loosened residues and chemical traces. Soft water is preferred where possible because dissolved salts and carbonates in hard water may remain on the screen surface and interfere with later coating or curing.
Washing must be thorough but gentle enough to avoid mechanical damage. The screen should appear uniformly clean before drying.
Drying the Prepared Screen
The washed screen is dried in a clean, controlled area at a moderate temperature. Clamps or suitable supports hold the screen securely while allowing air circulation around the cylindrical surface.
Dust control is important at this stage. Contaminants deposited on the wet or drying screen can produce coating defects and unwanted blocked or open areas during engraving.
Coating and Final Drying Before Engraving
Coating controls the screen openings and provides the image-forming layer used by the selected engraving method. The source formulation identifies SCR 102 lacquer, SCR 101 sensitizer and water in a 1000:50:100 mass ratio; actual use should follow the chemical supplier’s current safety and technical documentation.
The coated screen is dried in a controlled drying unit, sometimes called a clamitizer. Further handling depends on the engraving system. Coating thickness, drying quality and the time between coating and exposure or imaging all influence image fidelity and screen durability.
Rotary Screen Engraving Methods
The principal rotary screen-making methods include photoengraving, wax engraving and laser-based engraving. Each method creates a pattern of open and closed areas that controls where print paste can pass through the finished screen.
Source: Unsplash
Photoengraving
Photoengraving is a conventional rotary screen method based on photographic image transfer. A negative or film image is positioned repeatedly around the coated screen according to the design repeat, and ultraviolet exposure hardens or changes the coating in selected areas.
After exposure and development, the printable image areas are opened while the non-image areas remain protected. This method can provide good image control, but film handling, repeat positioning and development add process steps.
Wax Engraving
Wax engraving forms the design through the controlled application of molten wax onto a prepared screen. The wax acts as a mask during subsequent exposure and development stages, enabling the final screen image to be created.
Wax Engraving Process Overview
The process can be viewed as four linked stages: applying the wax image, exposing the screen, developing the image and heat curing the completed screen. Consistent wax deposition and stable curing conditions are important for reliable results.
Applying the Wax Image
Following coating and drying, solid wax is heated until it becomes fluid. The engraving system delivers molten wax through nozzles in accordance with the digital design data, creating the masked image on the rotating screen.
Exposing the Wax-Engraved Screen
The wax-masked screen is exposed to light, commonly using halogen-based exposure equipment in the described process. Required exposure depends on mesh, coating thickness, light intensity and image characteristics.
Developing and Inspecting the Screen
Warm water removes wax and releases the intended open print areas after exposure. Both inner and outer surfaces are cleaned, followed by rinsing and inspection for blocked openings, pinholes, incomplete development or unwanted open areas.
Minor defects may sometimes be corrected with suitable blocking materials, but extensive correction can reduce consistency and may justify remaking the screen.
Heat Curing and Polymerization
The developed screen is heat cured in a polymerizer to strengthen and stabilize the remaining coating. Chamber temperature should be uniform, and turning or repositioning the screen may help achieve even curing.
Advantages of Wax Engraving
Wax engraving is widely associated with high-quality screen definition and strong image sharpness. It can be particularly effective where precise edges and controlled detail are important.
Limitations of Wax Engraving
Wax engraving requires reliable wax supply, nozzle operation, computer control, exposure and curing. Interruptions or uneven polymerizer temperature can cause defects. Development and washing also make the process more time-consuming than some newer digital alternatives.
Laser Engraving
Laser engraving uses focused energy to remove selected areas of a protective mask according to digital design data. In electroforming applications, the exposed areas can then receive nickel deposition to create the screen structure.
Laser Engraving Process Overview
The general sequence includes applying a protective mask, laser removal of selected mask areas and metallic deposition. The exact route differs between equipment systems and whether the laser is used for direct imaging, mask removal or screen manufacture.
Applying the Protective Mask
A polymeric electrochemical resist or black polymeric mask can be applied to the cylinder or mandrel. Automated coating helps produce an even, smooth mask layer before imaging.
Laser Removal of Selected Mask Areas
The laser removes mask areas corresponding to the required design. The exposed cylinder surface becomes available for the next stage, while masked areas remain protected.
Nickel Deposition
The prepared cylinder is immersed in a nickel-plating solution. Nickel builds preferentially in exposed areas where the insulating polymer mask is absent, forming the required metal structure.
Laser Engraving Machine Components
A laser engraving machine typically includes a rotating shaft, end-ring assemblies for holding the screen or cylinder, a laser head that travels along the axis and a movable support for the working area. Accurate mechanical alignment is essential because small positioning errors can affect repeat continuity and image quality.
Advantages of Laser Engraving
Laser engraving is a non-contact method, reducing mechanical wear associated with physical image-transfer components. Digital control can improve repeatability, reduce manual handling and retain design information for future production.
Limitations of Laser Engraving
Laser systems require substantial capital investment, specialized maintenance and trained operators. Depending on the application and image type, some producers may consider wax-based methods better suited to the sharpest design edges.
Modern Rotary Screen Engraving Technologies
Modern systems aim to shorten prepress time, reduce film consumption, improve data control and limit wet processing. Rotary inkjet engraving and laser exposing are two examples of digital screen-preparation technologies.
Rotary Inkjet Engraving Technology
Rotary inkjet engraving is a computer-to-screen process in which specialized ink or resin is applied directly onto a nickel screen according to digital design data. Ultraviolet light is used to cure the applied resin, creating the image-forming mask or resist.
This approach can reduce dependence on conventional film preparation and repetitive manual positioning. Its practical benefits depend on machine accuracy, ink chemistry, curing quality and compatibility with the selected screen system.
Benefits of Rotary Inkjet Engraving
Potential benefits include fast digital imaging, lower noise than some conventional mechanical systems and relatively low power demand. The method can also improve workflow flexibility where short design changes and direct digital data transfer are important.
Laser Exposing Technology
Laser exposing forms the image directly on a coated screen using a dry, digitally controlled process. In suitable systems, it can eliminate separate washing and developing steps associated with conventional screen imaging.
Reducing wet processing can lower consumable use and decrease handling-related damage such as dents, creases or contamination. Process selection should still consider coating type, required print detail, production volume and maintenance capability.
Comparison of Rotary Screen Engraving Methods
The best engraving method depends on required image quality, available investment, production volume, turnaround time and operator capability. Photoengraving remains a conventional route; wax engraving is often selected for sharp image definition; and laser or direct digital systems offer faster digital data handling and reduced physical contact.
| Method | General strengths | Main constraints | Typical use consideration |
|---|---|---|---|
| Photoengraving | Established process and controlled photographic image transfer | Film preparation, repeat positioning and wet development | Conventional production where the process infrastructure already exists |
| Wax engraving | Strong detail definition and proven industrial use | Wax handling, development time and curing control | Detailed designs requiring high screen quality |
| Laser engraving | Non-contact imaging and digital control | High equipment cost and specialist maintenance | Operations seeking digital workflow and reduced mechanical wear |
| Rotary inkjet or laser exposing | Reduced film dependence and potentially shorter preparation routes | System-specific consumables and investment requirements | Modernized prepress and screen departments |
Published comparisons sometimes assign fixed production shares or cycle times to individual methods, but these values vary by mill, equipment generation, design complexity and local workflow. Method selection should therefore be based on a plant trial and measurable print results rather than a universal ranking.
Conclusion
Rotary screen making combines design management, controlled screen preparation and a suitable image-forming method. The process begins with approved artwork and color separation, then proceeds through repeat planning, mesh selection, cleaning, coating, engraving, development or curing, inspection and final mounting preparation.
Photoengraving, wax engraving, laser engraving and newer digital systems each serve different operational needs. After the screen is completed and inspected, end rings are fitted as required and the screen is mounted on the rotary printing machine for registered textile production.